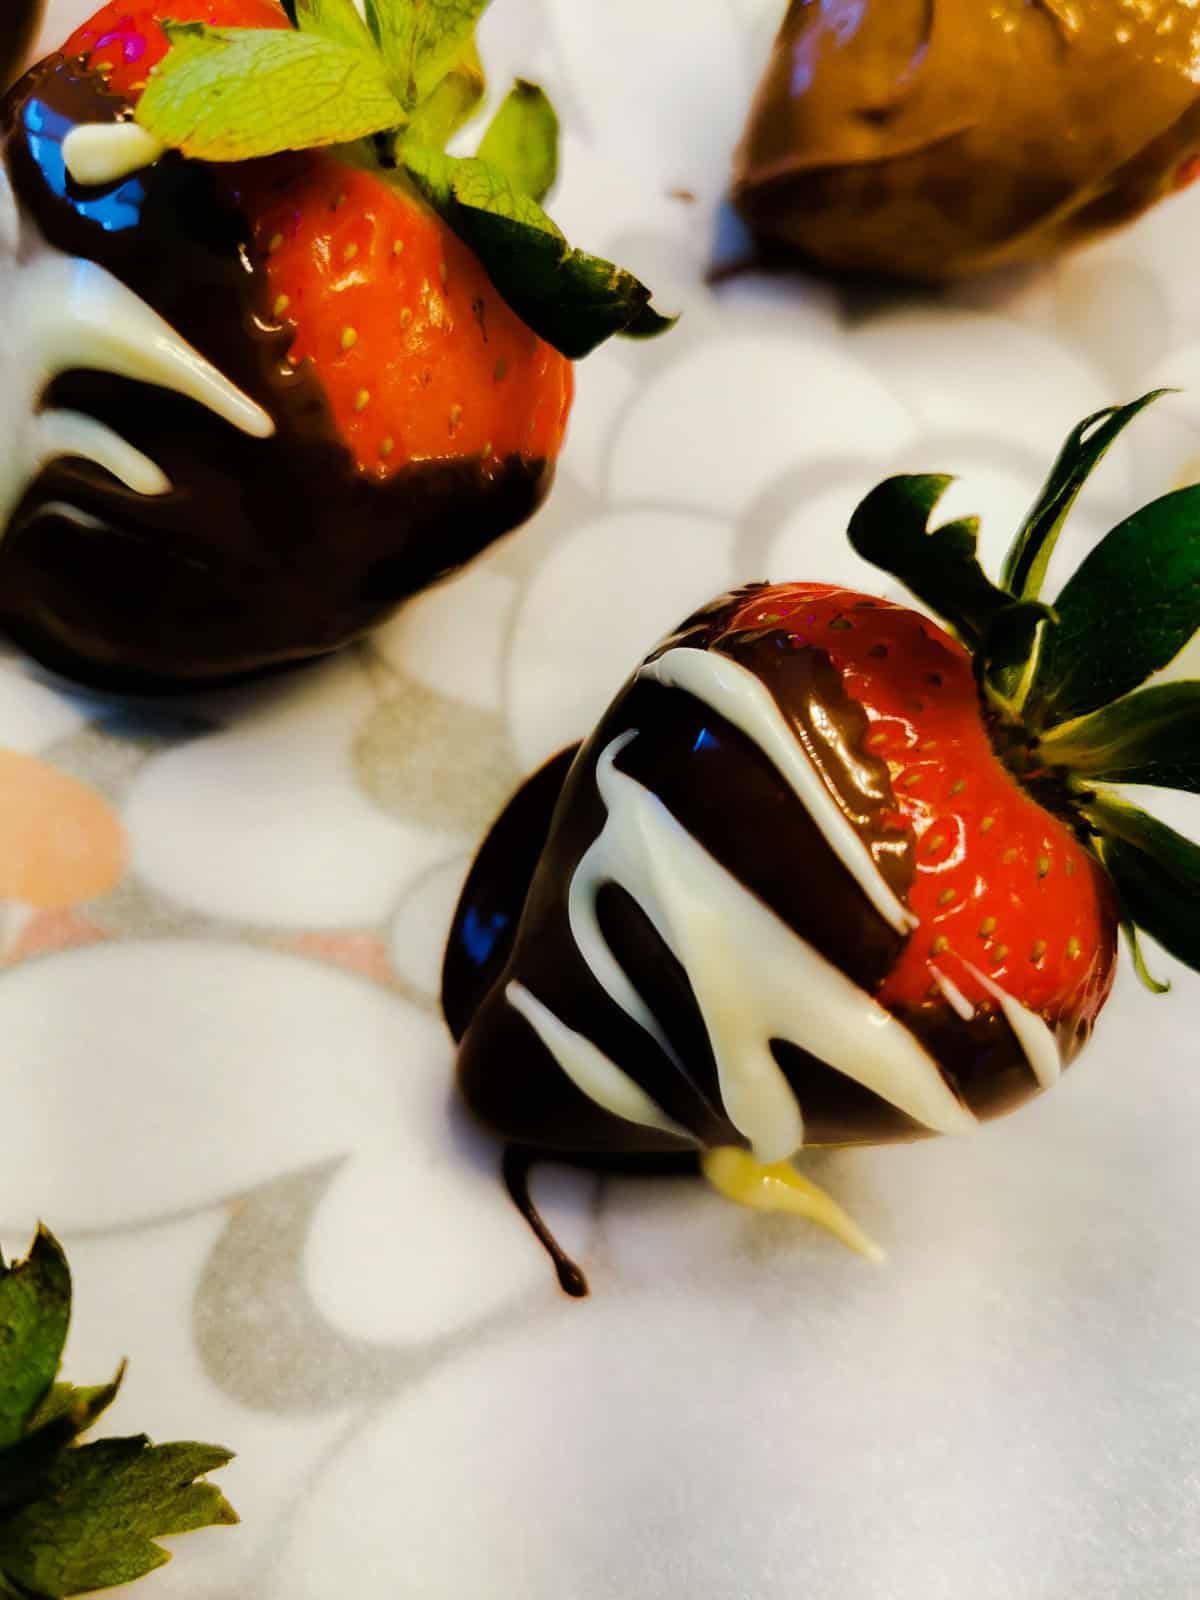
These delicious Chocolate-Covered Strawberries are a wonderful treat that combines the sweetness of ripe strawberries with the rich, decadent flavor of chocolate! They're fun to make too! Whether you're preparing them for a romantic evening, a festive celebration, or simply as a special indulgence, chocolate-covered strawberries are an easy-to-make yet elegant choice. In this post, you will not only learn how to make the perfect chocolate-covered strawberries but will also learn tips and variations to elevate the treat.
This post may contain affiliate links. Read my disclosure policy.
My daughter had a blast making these with me. It was a great mother-daughter bonding time and a great family dessert-eating time. :). We were laughing and experimenting with different toppings.
During our chocolate-dipping adventure, we found that the type of chocolate can make a big difference in flavor pairings. Here are some of our insights:
- Dark Chocolate with Fruits and Berries: The rich, slightly bitter taste of dark chocolate perfectly complements the natural sweetness and tartness of fruits and berries. We especially loved dark chocolate with strawberries, as the combination brought out the best in both the fruit and the chocolate.
- Milk Chocolate with Cheese: On a whim, we experimented with dipping small cheese cubes in milk chocolate. To our surprise, the creamy, sweet milk chocolate paired so well with the savory, smooth texture of the cheese.
Ingredients
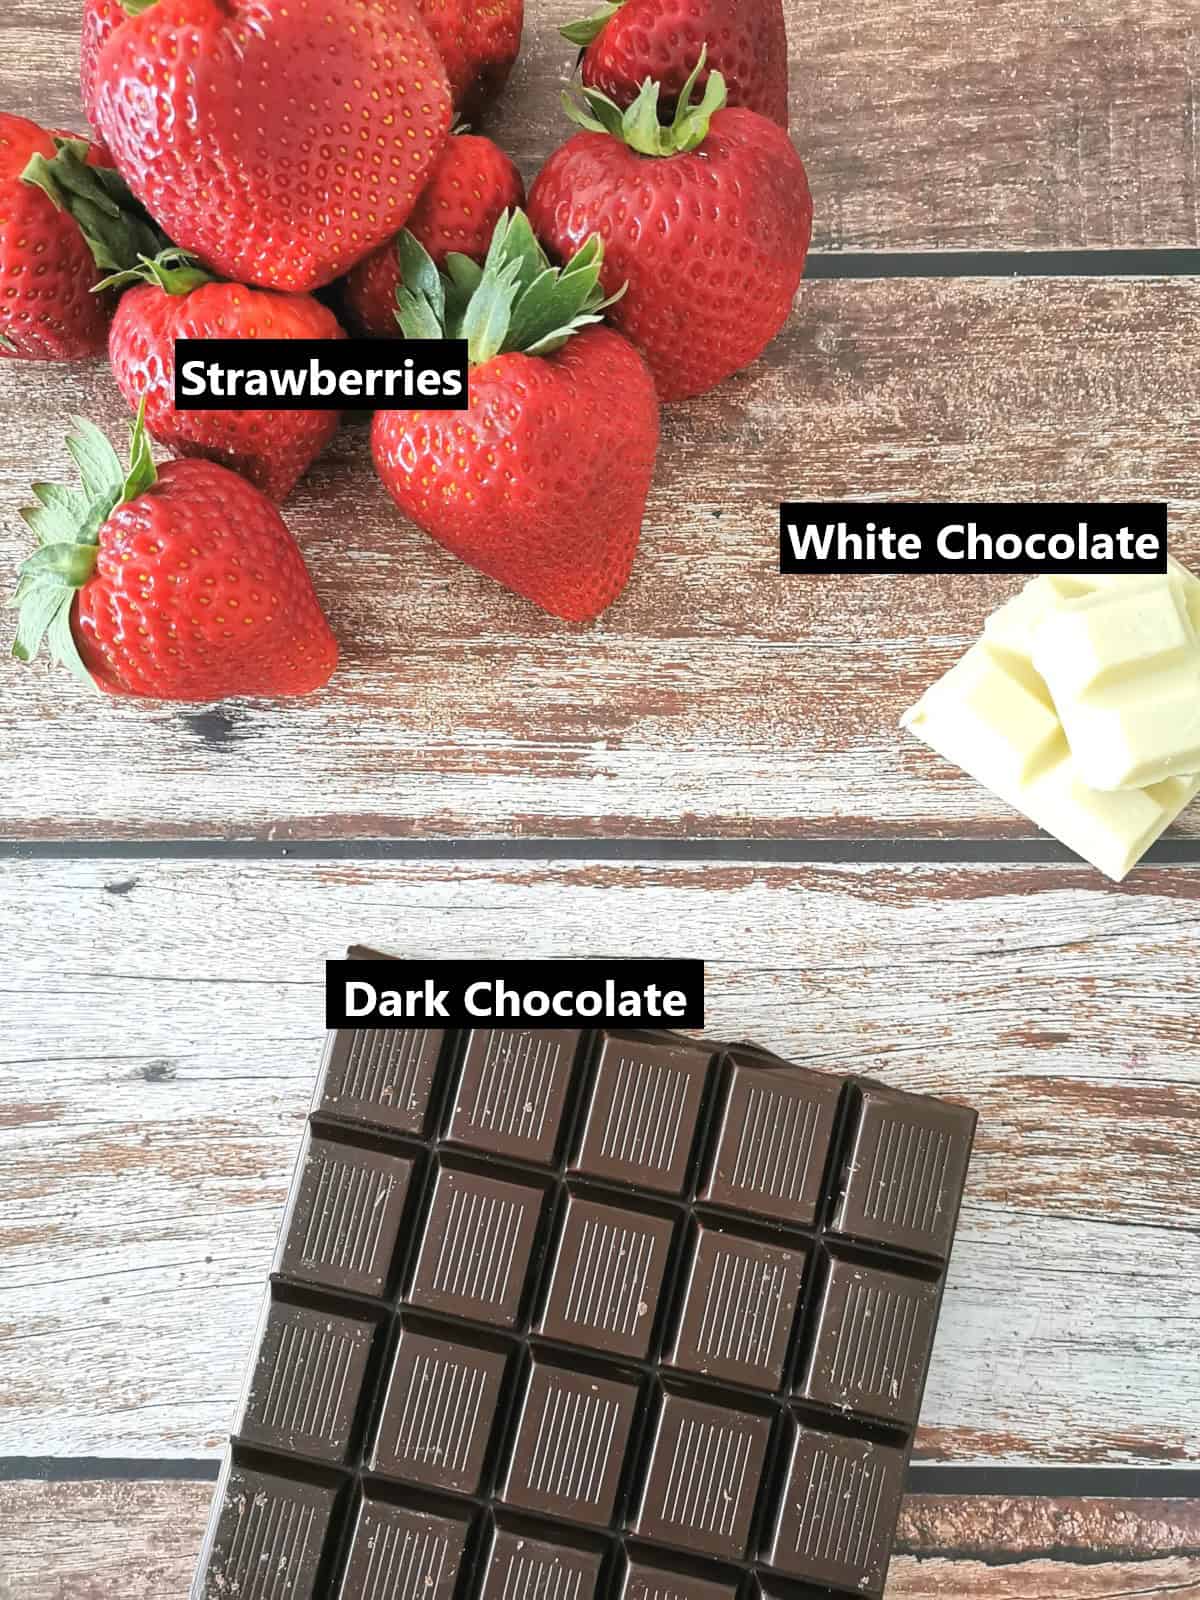
- Strawberries: Choose bright, red strawberries with fresh green leaves. Also, make sure to choose larger strawberries for convenient dipping - not a must, but a preference for chocolate-covered strawberries.
- Chocolate: Like in this Chocolate Granola Cups recipe, it's important to use high-quality chocolate. Depending on your preference, you can use dark chocolate for a richer, more intense, slightly less sweet flavor, or milk chocolate for a sweeter and creamier coating. If you like white chocolate, you can use that instead. Or, use a variety of chocolates to create a variety of flavors and options.
see the recipe card at the end of the post for ingredient quantities
Substitutions and variations
- Strawberries: though chocolate-covered strawberries won't be "chocolate-covered strawberries" without the strawberries, you can substitute them with marshmallows, pineapple, or almost any other fruit.
- Chocolate: you can also use flavored chocolate, such as mint, orange, or raspberry flavor as a twist.
- Add some nuts: almonds, pistachios, hazelnuts, or peanuts add a nice crunch and additional flavor.
- Add other sweets: add Oreo crumbs, graham cracker crumbs, mini chocolate chips, or some sprinkles for a fun and colorful look.
- Flavor additions: after melting the chocolate and before dipping in the strawberries, you can stir in additional flavors such as cinnamon powder, vanilla, almond, or peppermint extract.
- Add Coconut Oil: Add a small amount of coconut oil to the chocolate for easier melting and a glossy finish.
- Vegan/Dairy-Free: Use dairy-free or vegan chocolate brands.
- Sugar-Free: use sugar-free chocolate varieties for a lower-sugar option.
Preparation
STEP 1: Prepare the baking sheet
Line a baking sheet with parchment paper or wax paper. This will prevent the strawberries from sticking once dipped.
STEP 2: Prepare the strawberries
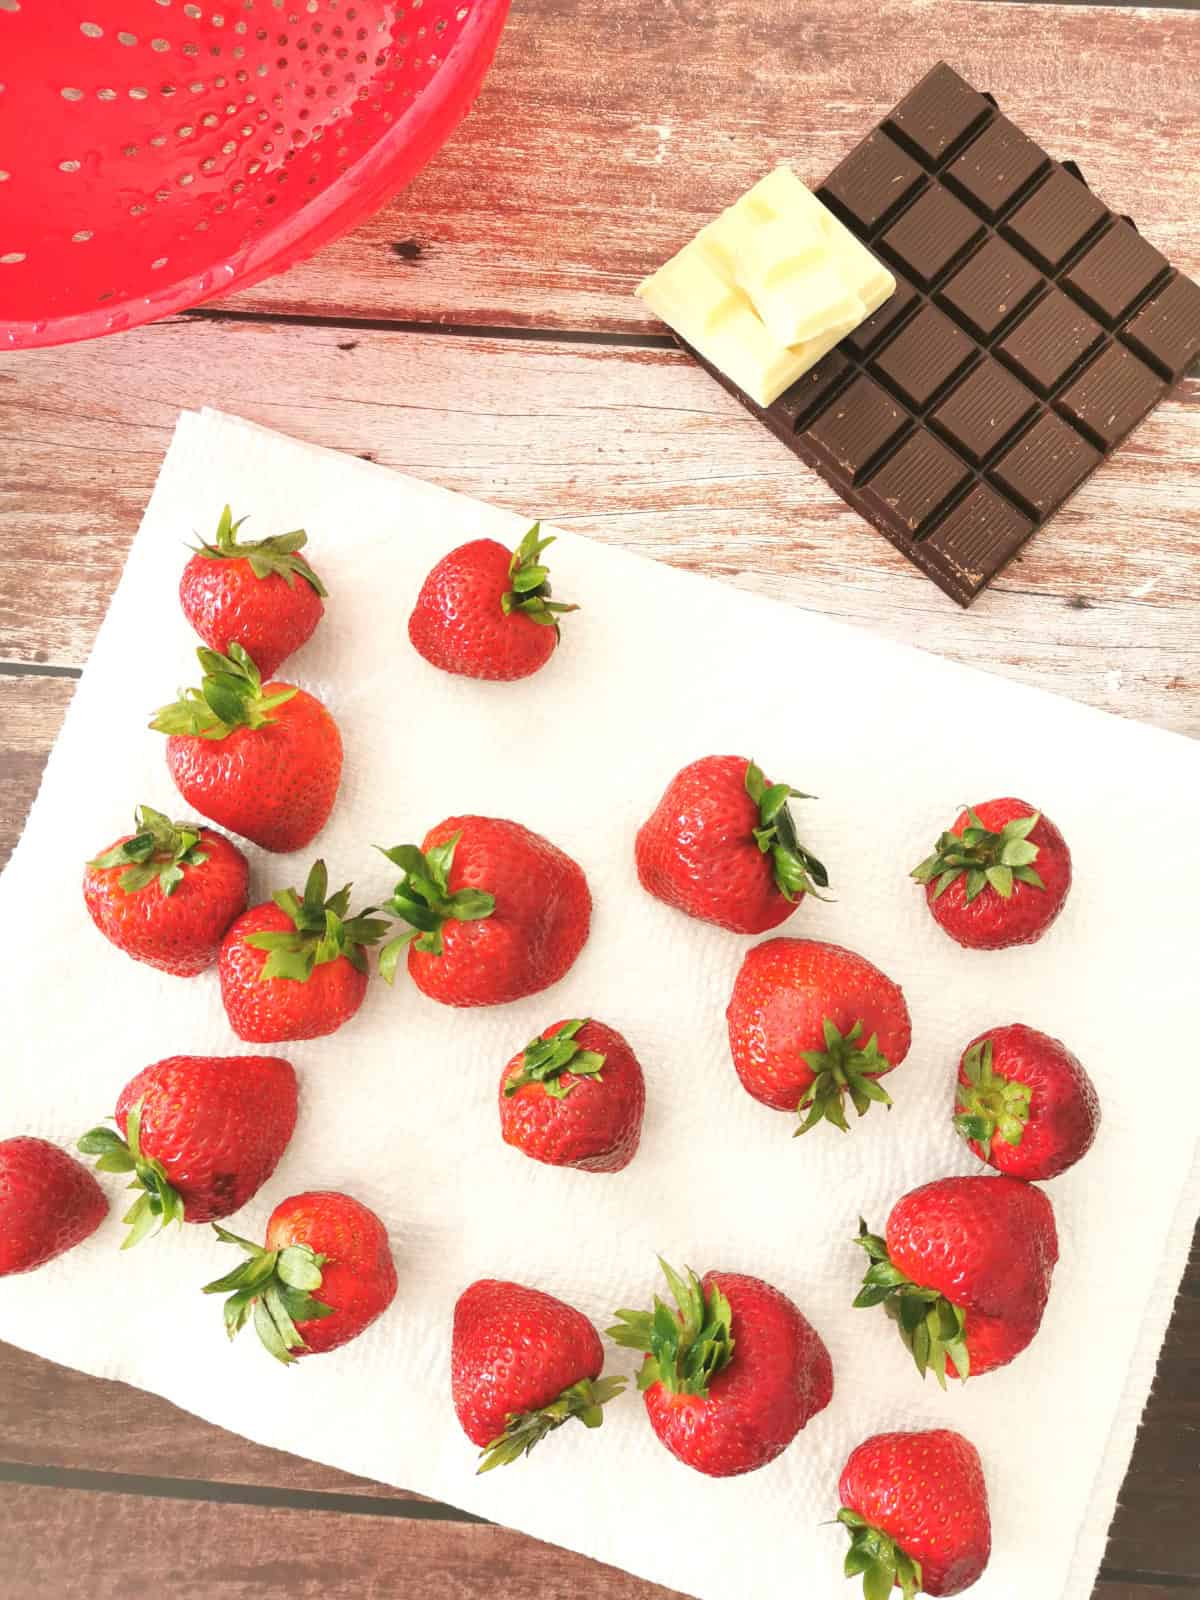
Rinse the strawberries thoroughly under room temperature water and pat them dry with a paper towel. Ensure they are completely dry.
STEP 3: Melt the chocolate
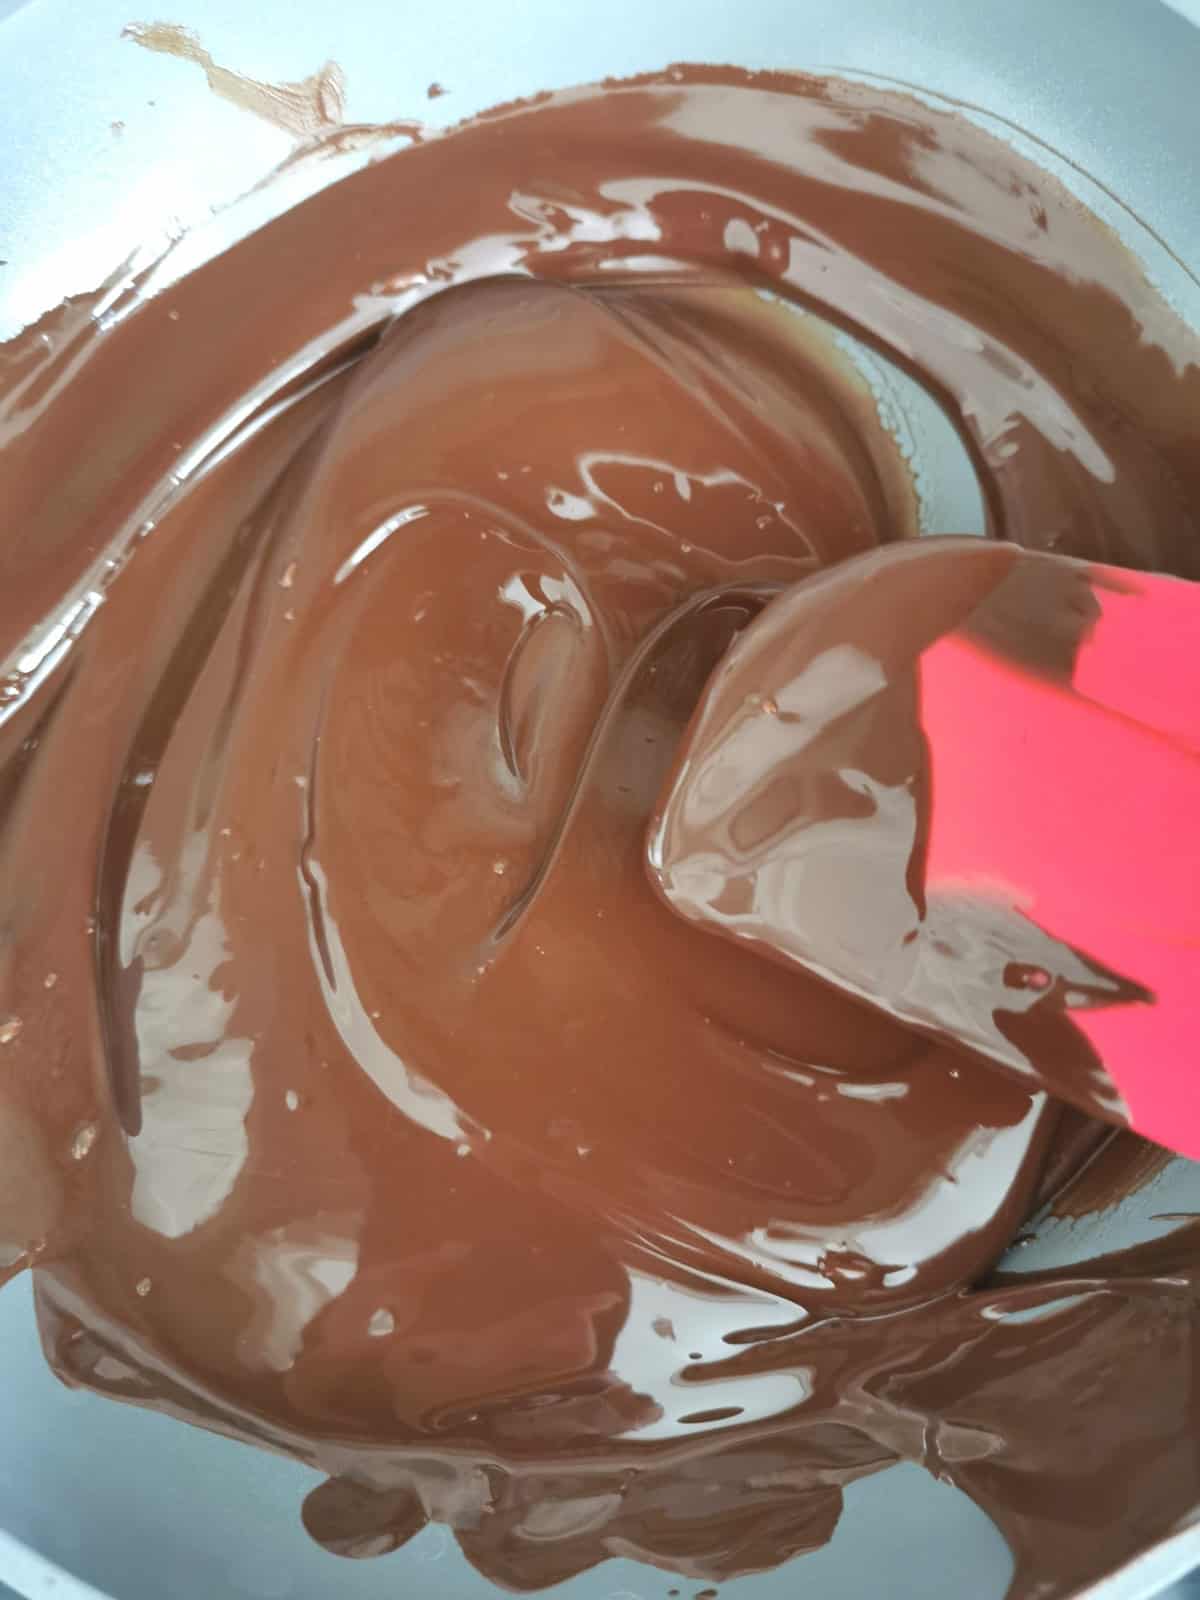
- Using a Double Boiler: Fill the bottom pot of a double boiler with water and bring it to a simmer. Place the chopped chocolate in the top pot. Stir frequently until melted and smooth. You can make your own double boiler if you don't have one.
- Using a Microwave: Place the chopped chocolate in a microwave-safe bowl. Microwave in 30-second intervals, stirring after each, until the chocolate is fully melted and smooth.
If you're also using white chocolate, make sure to melt it in a separate pot/pan/bowl.
STEP 4: Insert Cocktail picks (optional)
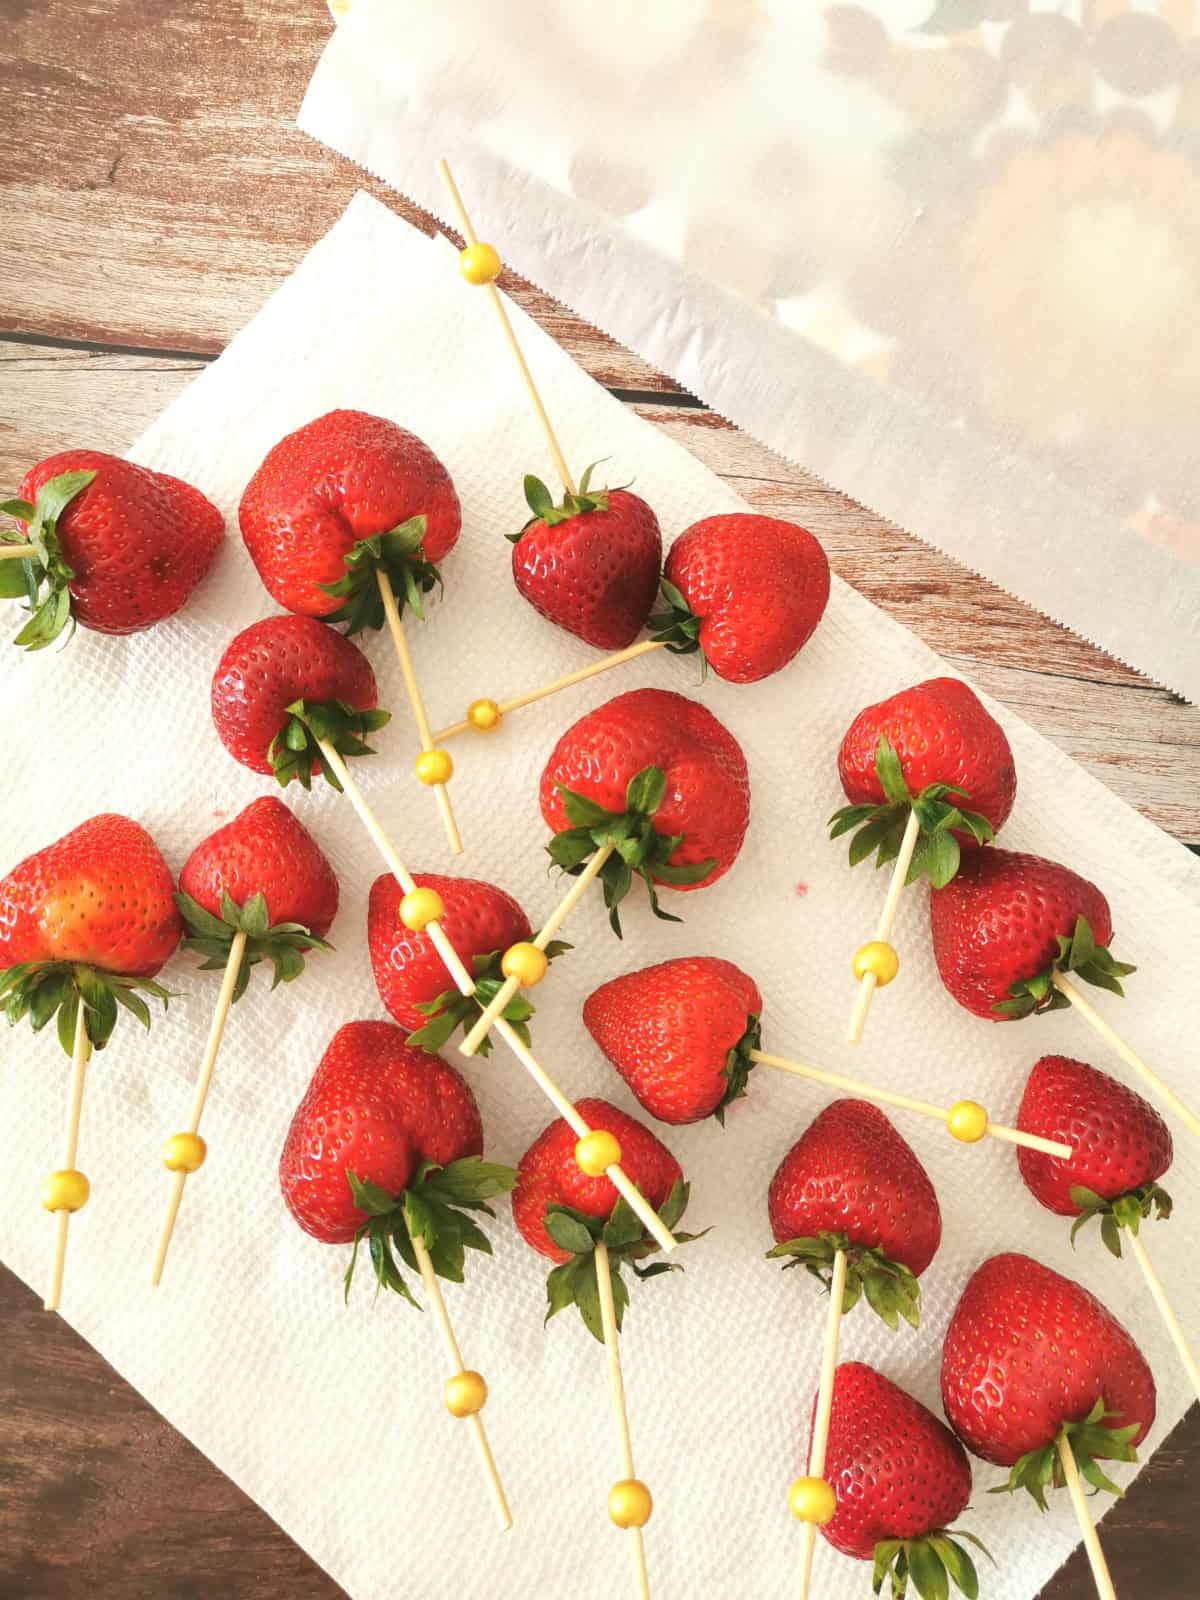
Insert a toothpick or a cocktail pick into the top of the strawberry for a prettier presentation.
STEP 5: Dip the strawberries
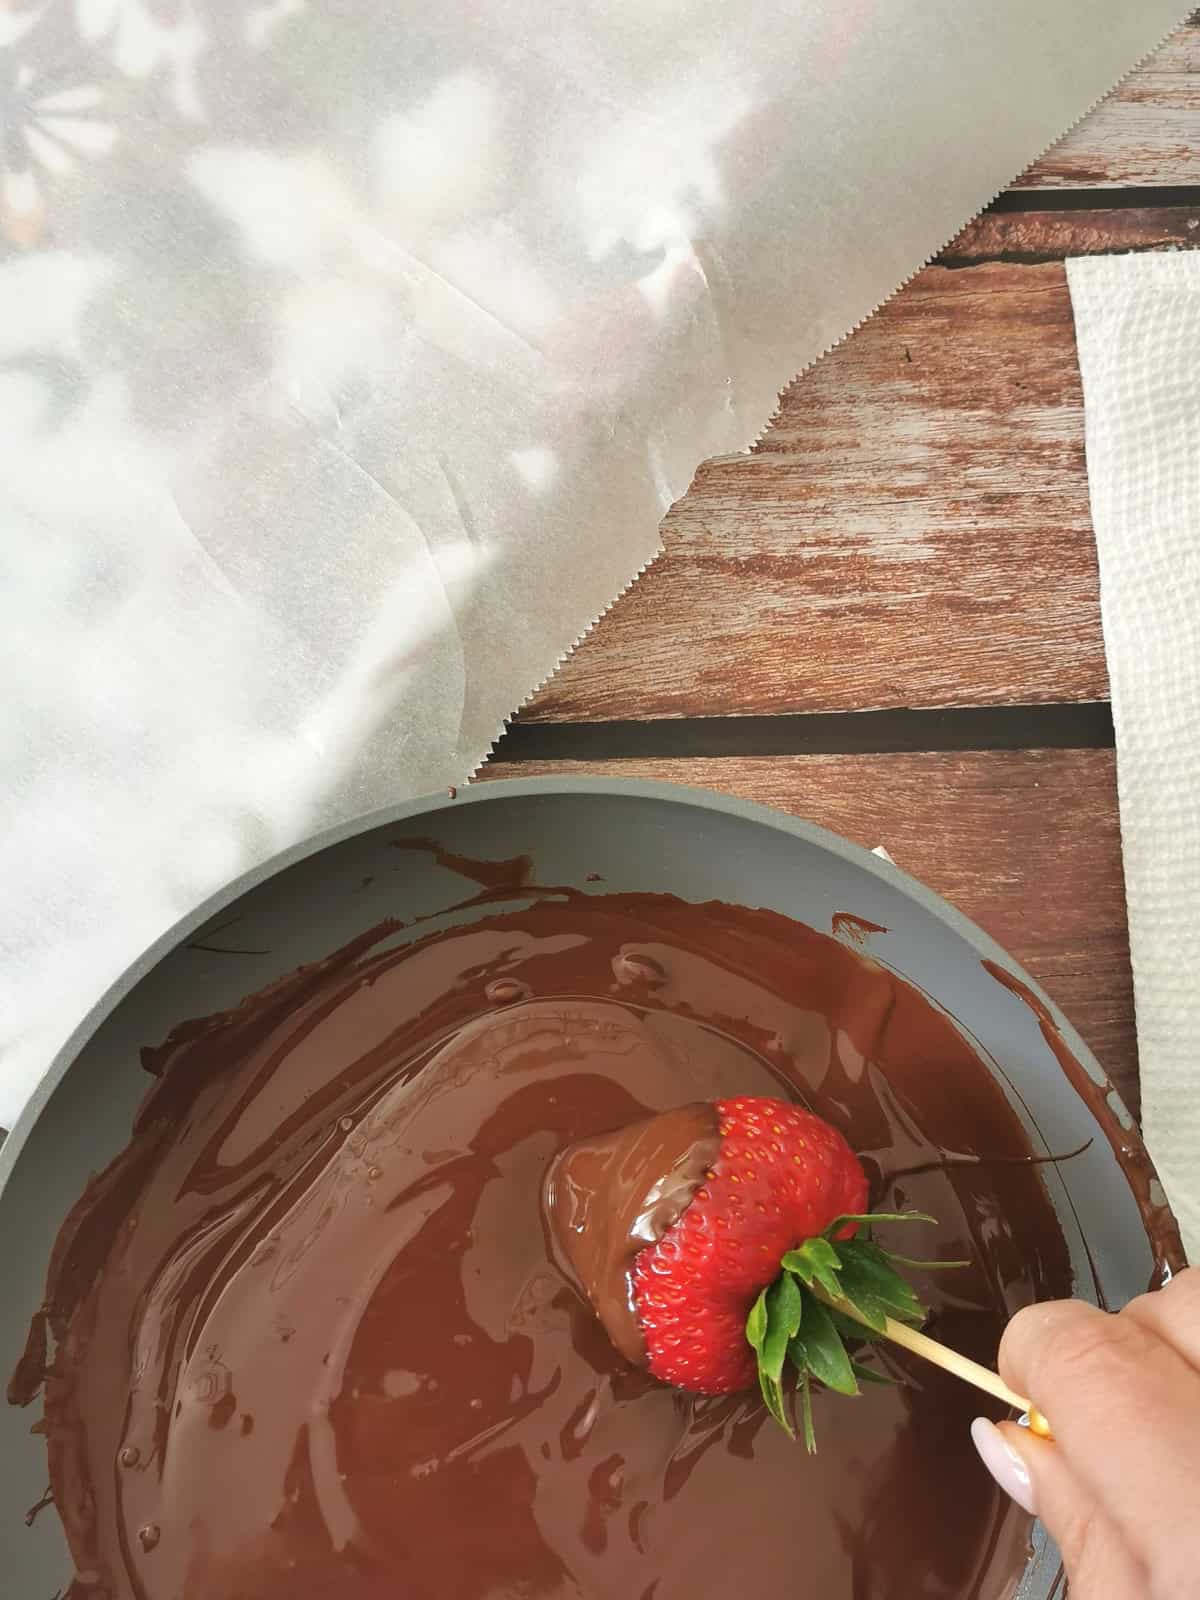
Grab each strawberry by the green leaves or the pick, if using, and dip each strawberry into the melted chocolate, swirling to coat it evenly. Leave a bit of the red strawberry showing at the top for a nice presentation. Let the excess chocolate drip back into the bowl.
STEP 6: Add toppings (optional)
If you like, sprinkle the dipped strawberries with toppings like crushed nuts, sprinkles, or shredded coconut before the chocolate sets. As the most popular chocolate-dipped strawberry topping, drizzle dark chocolate-covered strawberries with melted white chocolate.
STEP 7: Set the strawberries
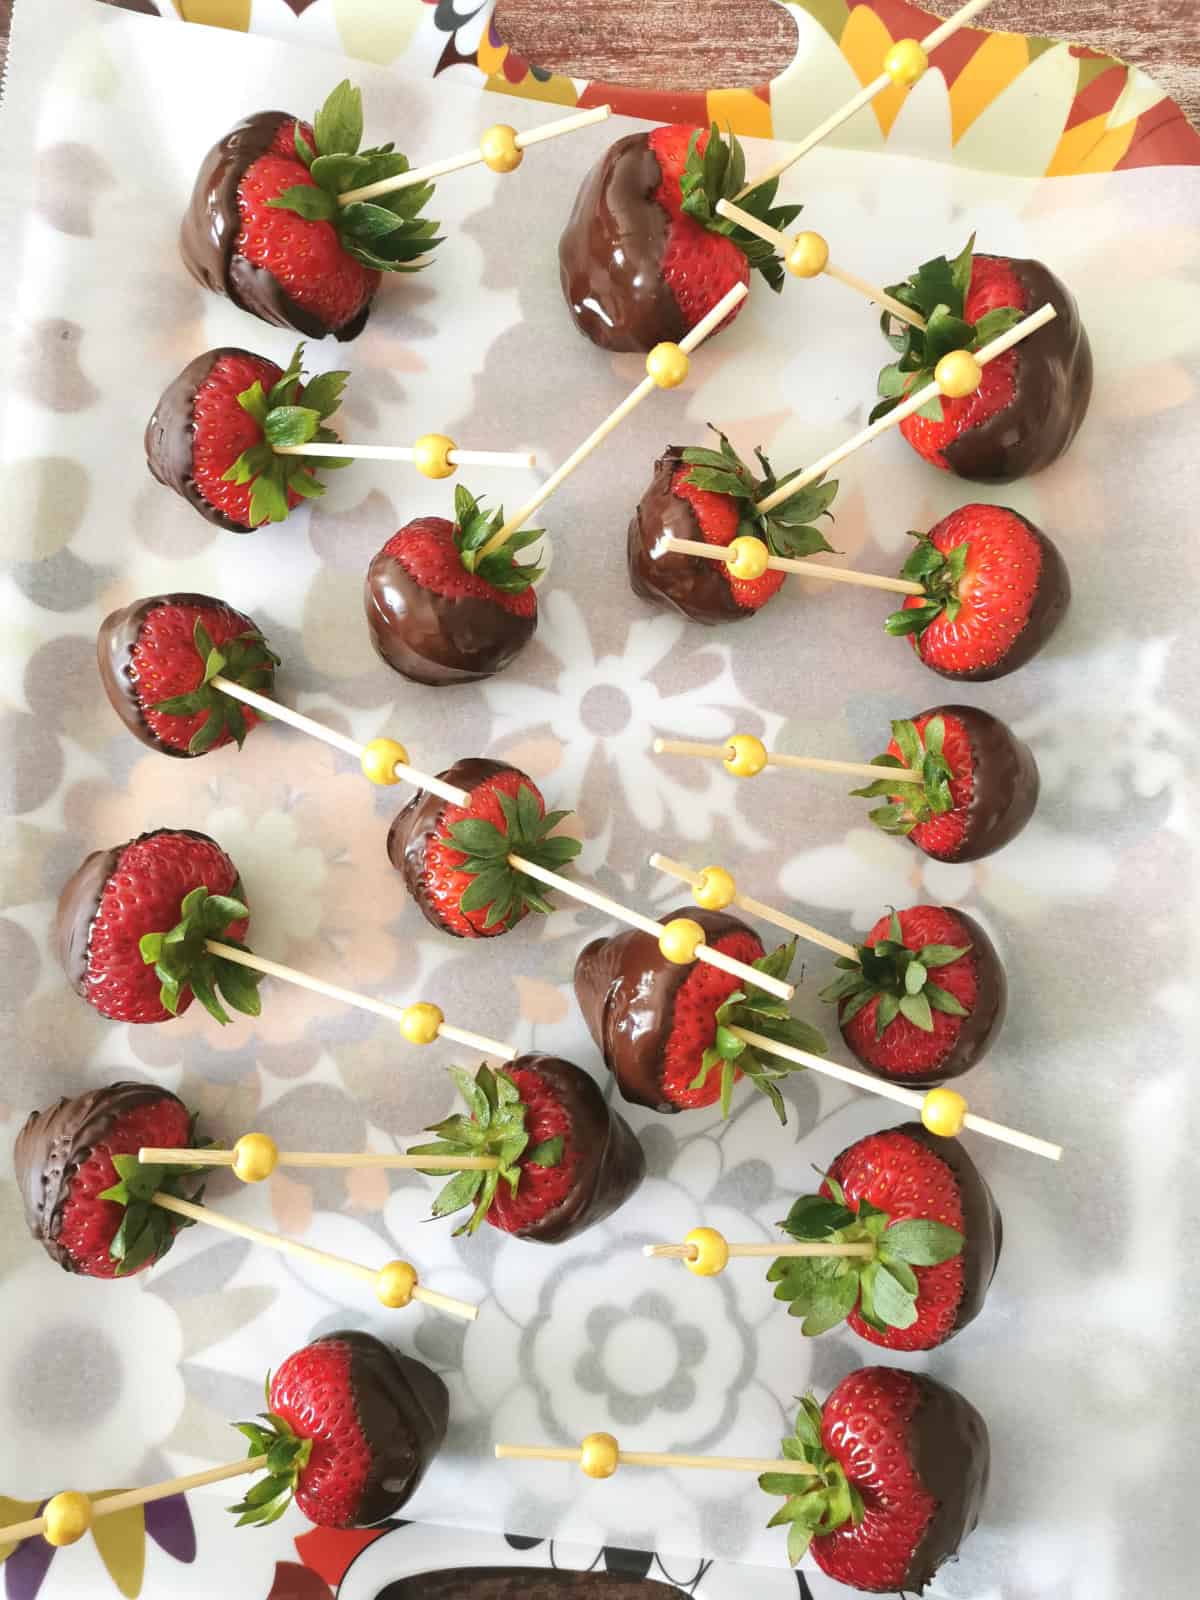
Place the dipped strawberries on the prepared baking sheet and let the strawberries sit at room temperature until the chocolate sets. For faster setting, place them in the refrigerator for about 20-30 minutes.
Top Tips
- Use fresh, ripe strawberries that are firm to the touch. Overripe or mushy strawberries won't hold up well when dipped in chocolate.
- Make sure your strawberries are at room temperature to prevent the chocolate from hardening too quickly during dipping.
- Dry the strawberries thoroughly. Any moisture can cause the chocolate to seize or not adhere properly.
- After dipping, let the excess chocolate drip back into the bowl to avoid messy pools of chocolate around the strawberries.
Frequently Asked Questions
Ideally, make the chocolate-covered strawberries on the same day you plan to serve them. If necessary, you can make them up to 24 hours in advance. However, be aware that the strawberries may start to release moisture.
Cutting strawberries into smaller pieces before dipping them in chocolate is not recommended because they can release their juices and the chocolate coating may not to adhere properly. But if you do decide to cut the strawberries,
make sure to pat them dry with a paper towel to remove as much moisture as possible, insert toothpicks or skewers into the cut pieces to make dipping easier and serve them as soon as possible, ideally within a few hours, to enjoy them at their best.
Chocolate-dipped strawberries can "sweat" due to condensation, especially when moving from a cold environment to a warmer one. Make sure the strawberries are completely dry before dipping them in the chocolate. Any moisture can cause the chocolate to seize and lead to sweating later. Also, make sure to use an airtight container when storing leftovers in the refrigerator. You can place a paper towel at the bottom of the container to absorb excess moisture. Sometimes, adding a layer of crushed nuts, coconut flakes, or other coatings can help reduce direct exposure of the chocolate to air, helping minimize sweating.
Serving suggestions
Enjoy the chocolate-covered strawberries on their own, or with your favorite drink! If you're of legal drinking age (disclaimer!), they are so good with espresso martinis!
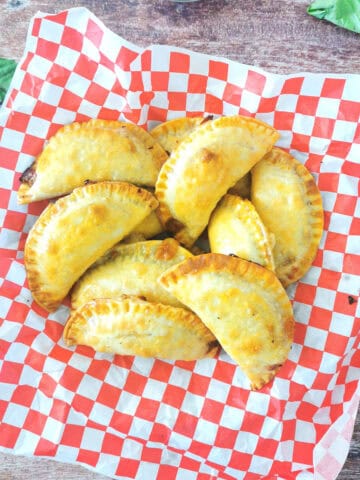
Try these desserts


If you tried this Chocolate-Covered Strawberries Recipe recipe or any other recipe on my website, please leave a 🌟 star rating and let me know how it went in the 📝 comments below. Thanks for visiting!
Recipe

Chocolate-Covered Strawberries Recipe
Equipment
- Double Boiler optional - you can also use two pots
Ingredients
- 18 strawberries
- 8 oz chocolate dark, milk, or white, depending on your preference - you can use chocolate chips or a high-quality chocolate bar.
Instructions
- Line a baking sheet with parchment paper or wax paper. This will prevent the strawberries from sticking once dipped.
- Rinse the strawberries thoroughly under room temperature water and pat them dry with a paper towel. Ensure they are completely dry.
- Using a Double Boiler: Fill the bottom pot of a double boiler with water and bring it to a simmer. Place the chopped chocolate in the top pot. Stir frequently until melted and smooth. orUsing a Microwave: Place the chopped chocolate in a microwave-safe bowl. Microwave in 30-second intervals, stirring after each, until the chocolate is fully melted and smooth.If you're also using white chocolate, make sure to melt it in a separate pot/pan/bowl.
- Insert a toothpick or a cocktail pick into the top of the strawberry for a prettier presentation - this step is optional.
- Grab each strawberry by the green leaves or the pick, if using, and dip each strawberry into the melted chocolate, swirling to coat it evenly. Leave a bit of the red strawberry showing at the top for a nice presentation. Let the excess chocolate drip back into the bowl.
- If you like, sprinkle the dipped strawberries with toppings like crushed nuts, sprinkles, or shredded coconut before the chocolate sets. As the most popular chocolate-dipped strawberry topping, drizzle dark chocolate-covered strawberries with melted white chocolate.
- Place the dipped strawberries on the prepared baking sheet and let the strawberries sit at room temperature until the chocolate sets. For faster setting, place them in the refrigerator for about 20-30 minutes.
Notes
- Use fresh, ripe strawberries that are firm to the touch. Overripe or mushy strawberries won't hold up well when dipped in chocolate.
- Make sure your strawberries are at room temperature to prevent the chocolate from hardening too quickly during dipping.
- Dry the strawberries thoroughly. Any moisture can cause the chocolate to seize or not adhere properly.
- After dipping, let the excess chocolate drip back into the bowl to avoid messy pools of chocolate around the strawberries.

Comments
No Comments