Have you ever struggled with flat cakes or curdled sauces? The secret might lie in a simple step: bringing your ingredients to room temperature! It’s not just a suggestion—it’s an important part of getting the best results in your cooking and baking. In this post, we’ll explore why some recipes call for room-temperature ingredients and how this step can improve your cooking and baking experience.

This post may contain affiliate links. Read my disclosure policy.
Whether you're baking a cake, making our Russian Pancakes "Oladi", our Breakfast Popovers, whipping up a batch of cookies, or preparing a savory dish like this Healthier Oven-Baked Poutine, using ingredients at the right temperature can affect the texture, flavor, and even the cooking time.
Jump to:
- Why some recipes call for room-temperature ingredients in baking
- Why some recipes call for room-temperature ingredients in savory dishes
- What does room temperature look like for common ingredients?
- Tips on bringing ingredients to room temperature quickly
- Frequently Asked Questions
- More did-you-know posts
- Recipe
- Comments
Why some recipes call for room-temperature ingredients in baking
- Better Mixing: Ingredients like butter, eggs, and milk are easier to mix when they’re at room temperature. For example, softened butter blends more smoothly into sugar, which helps create the right texture in cookies, cakes, and other baked goods. Cold butter can be too firm and doesn’t emulsify well, leaving your batter lumpy.
- Even Cooking or Baking: Cold eggs or dairy can cause uneven heating or curdling when combined with warm ingredients.
- Proper Rise: In baking, room-temperature ingredients like eggs and butter work better with leavening agents like baking powder and yeast. Cold ingredients can slow down yeast activation.
- Better Texture and Flavor: Room temperature ingredients help in achieving the desired texture and flavor balance. Cold butter in cakes, like this Pumpkin Spice Bundt Cake (with cranberry sauce) or muffins, like these Coffee Cake Muffins, might lead to a denser crumb, but room-temperature ingredients help create a lighter, fluffier result.
While baking benefits immensely from room-temperature ingredients, many savory dishes also gain flavor and consistency when you follow this step.
Why some recipes call for room-temperature ingredients in savory dishes
- Even Cooking: Butter, eggs, and cream work more evenly when they’re at room temperature. For example, if you’re making a creamy sauce or soup, like this Cauliflower and Pumpkin Soup, using cold cream or stock might cause the mixture to curdle or result in uneven consistency.
- Emulsification: In savory dishes that require emulsifying, like salad dressings, mayonnaise, or vinaigrettes, room-temperature ingredients (such as eggs or oil) combine better and create a smoother, more stable texture. Cold oils can cause the mixture to break.
- Meat Marination: Cold meat can resist absorbing flavors. Allowing the meat to come to room temperature before cooking, like in the veal in this Veal Chops in Mushroom Sauce recipe, ensures better seasoning and marination.
- Quicker and More Even Cooking: A cold piece of meat might seize up when it's placed on a hot pan, resulting in a tough texture. Bringing meat to room temperature before cooking helps it cook more evenly and stay tender.
What does room temperature look like for common ingredients?
| INGREDIENT | IDEAL ROOM TEMPERATURE |
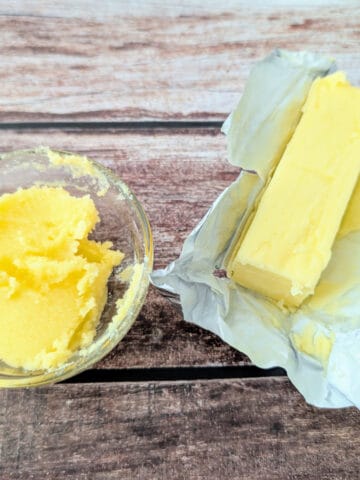
| Butter | Soft enough to press but not melting |
| Eggs | Slightly cool, not cold from the fridge |
| Milk/Cream/Yogurt | Cool but not cold to the touch |
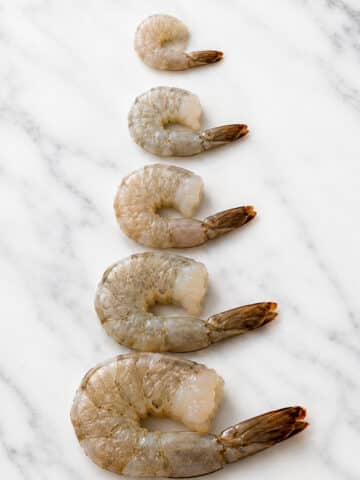
| Meat/Fish | Slightly warm to the touch, not cold |
| Stock/Broth | Warm to room temperature |
Tips on bringing ingredients to room temperature quickly
- Butter: Cut it into smaller pieces to speed up the softening process. If you're in a hurry, place it in the microwave for 5-10 second bursts.
- Eggs: Place them in a bowl of warm (not hot) water for a few minutes. This will quickly warm them up without cooking them.
- Milk and Cream: Let them sit out for about 15-20 minutes before use.
- Meat: Remove it from the fridge and let it sit on the counter for 15-20 minutes. For thinner cuts of meat, you can leave them out for a shorter period, as they warm up faster.
- Stock or Broth: Pour it into a bowl or measuring cup and microwave it for 30-40 seconds. Stir it after each interval to make sure it heats evenly.
Frequently Asked Questions
Technically you can, but skipping it may affect the final texture, flavor, or cooking time of your dish. For best results, try to follow the instructions.
In a recipe, "room temperature" means the ingredient should feel warm, not cold, but not hot either—just like the air in a typical room. This is usually around 68–72°F (20–22°C), though it might vary depending on where you live or the time of year.
More did-you-know posts


We’d Love to Hear From You!
Have you noticed a difference in your cooking or baking by using room-temperature ingredients? Or do you have a favorite recipe where this tip made all the difference? Share your experiences, questions, or tips in the 📝 comments below!
If you tried any of the recipes mentioned here, like our Russian Pancakes "Oladi" or Breakfast Popovers, leave a 🌟 star rating and let us know how they turned out. Your feedback helps us (and others) improve!
Don’t forget to tag us on social media when you try out our tips—we’d love to see your creations! 📸 #Cre8AtHome
Recipe

Russian Pancakes "Oladi"
Ingredients
- 2 cups kefir room temperature is best
- 2 large eggs room temperature is best
- 1 teaspoon pure vanilla extract
- 1 tablespoon granulated sugar
- ½ teaspoon salt
- 2 teaspoons baking powder
- 2 cups all-purpose flour
- oil to saute I use vegetable oil
Instructions
- In a large mixing bowl whisk together the kefir, eggs, vanilla extract, sugar, salt, and baking powder.2 cups kefir, 2 large eggs, 1 teaspoon pure vanilla extract, 1 tablespoon granulated sugar, ½ teaspoon salt, 2 teaspoons baking powder
- Gradually add the flour, stirring until just combined. Do not overmix.2 cups all-purpose flour
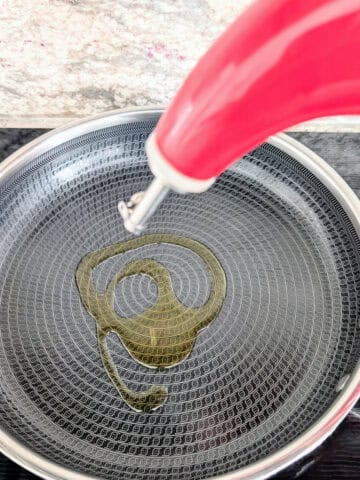
- Heat 1 tablespoon of cooking oil in a large skillet, over medium-high heat. Once heated, reduce to medium. Add a heaping tablespoon of the batter for each pancake. Keep space between each pancake to ensure they don't stick together. There should be about 4 or 5 pancakes at a time, depending on the size of your skillet.
- Once each pancake has dried around the edges and small bubbles appear on the top of the batter, they are ready to be flipped. Use a spatula to gently flip the oladi. Don't press down on them after flipping.
- Repeat with the remaining batter, adding a little oil in between batches. Serve warm.
Notes
- Make sure the kefir and eggs are at room temperature. This helps the batter mix more evenly, resulting in a better texture.
- For a fluffier texture, you can let the batter rest for about 10 minutes before frying.
- Ensure the oil is hot enough before adding the batter; this will prevent the pancakes from soaking up too much oil and becoming greasy. You can test the oil by dropping a small amount of batter into the pan – it should sizzle immediately.
- Mix the batter until the ingredients are just combined. Overmixing can develop gluten in the flour, leading to tougher pancakes. A few lumps in the batter are okay.
- Cook the pancakes over medium heat. Too high of a temperature can cause the outside to cook too quickly, leaving the inside undercooked and gummy.
- Before flipping the pancakes, wait for bubbles to form on the surface and for the edges to look set. This is a good indicator that the oladi are ready to be flipped.
- Use a spatula to gently flip the oladi. Don't press down on them after flipping as this may make them dense and less fluffy.


Comments
No Comments