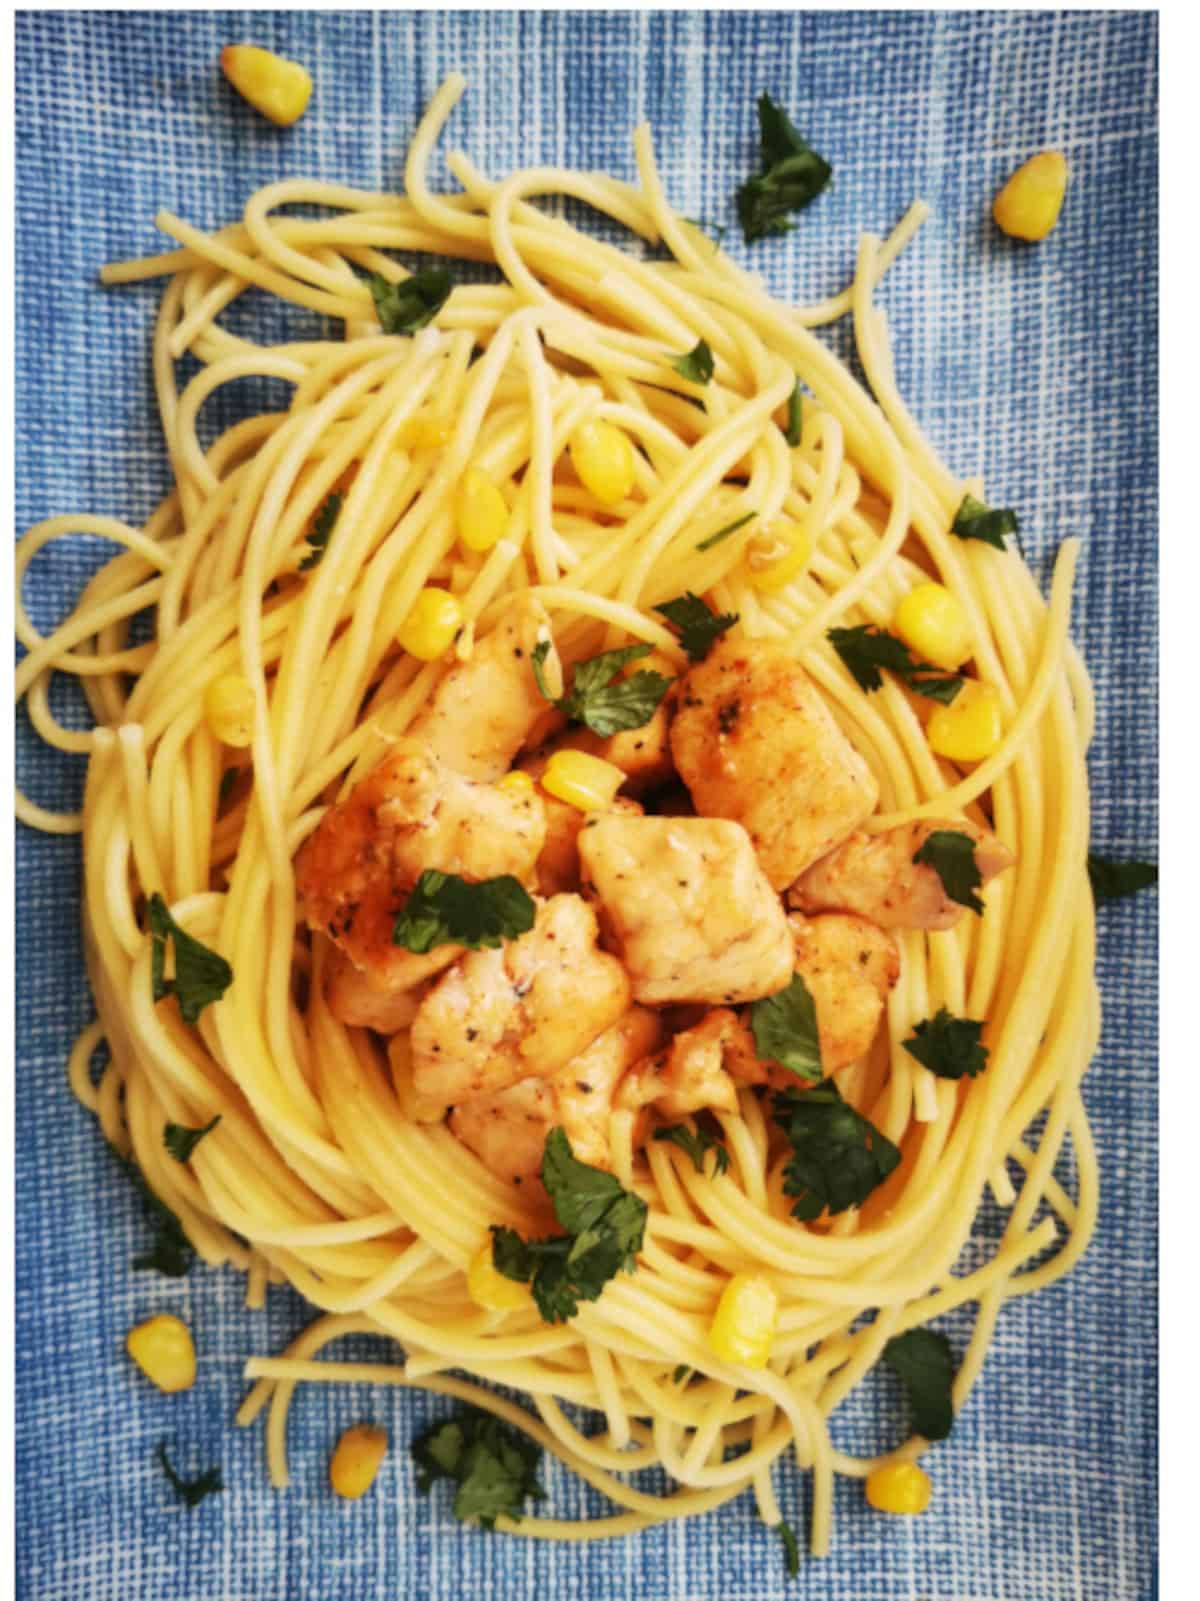
Try these Chicken in Spaghetti Nests for a weeknight dinner. It's so quick to make. No more than 40 minutes and the main dish is ready. Add a salad and dinner is done!
Jump to:
Ingredients for the Chicken in Spaghetti Nests:
- boneless, skinless chicken breasts, diced - for four servings, dice 4 chicken breasts into cubes
- 300 gm cooked spaghetti - for more on pasta and step-by-step instructions on cooking it, you can refer to our How To Cook Pasta Al Dente guide.
- paprika - I use sweet paprika, so 1 teaspoon is good. If you are using spicy paprika, use 1/2 teaspoon
- onion powder, garlic powder, salt - one teaspoon each, salt to taste
- ground black pepper - 1/2 teaspoon, or to taste
- baking soda - 3/4 teaspoon for tenderizing. More on this below.
- butter - 1 tablespoon for the spaghetti
- one tablespoon neutral-tasting oil, such as canola or vegetable oil - for cooking
- one cup frozen corn niblets
- dried parsley (optional) - if you have dried parsley, one teaspoon is plenty.
- fresh parsley or cilantro (optional) - this is to garnish. Using cilantro does add flavor and does not only garnish the dish. I usually chop fresh cilantro and ask each person individually if they would like some cilantro on top.
- sweet soy sauce - I love the sweet soy sauce in this recipe. It has a gentle sweet flavour, which works so well.
Tenderizing the Chicken Breast:
Because chicken breast is so lean, it's easy to dry it out when cooking. This is where baking soda comes in!
Marinating the chicken breasts with 3/4 teaspoon of baking soda for 20 minutes will tenderize the meat and prepare it for cooking.
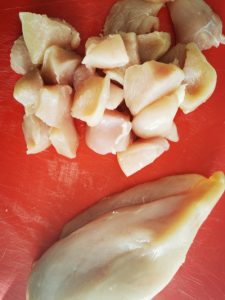
Dice the chicken breasts into cubes first, add the baking soda and toss together. Even better, if you have the extra time, it's great to "butterfly" the chicken first and then beat it with a meat mallet to help tenderize it. Let stand for 20 minutes, rinse under running water and pat dry with a paper towel.
If you would like to save some time and avoid doing this after work or when you are busy, tenderize ahead and have it ready when you are.
Preparing Chicken in Spaghetti Nests:
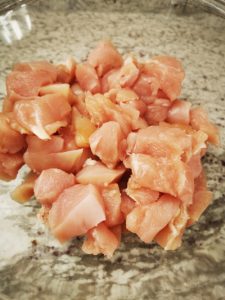
- Dice the chicken breasts into cubes and transfer into a large mixing bowl. Add 3/4 teaspoon of baking soda and toss well. Let marinate and tenderize for approximately 20 minutes, rinse well and pat dry with paper towels.
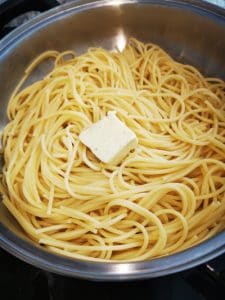
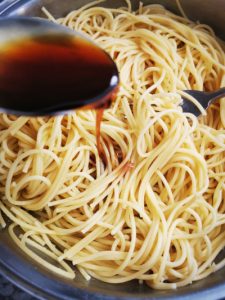
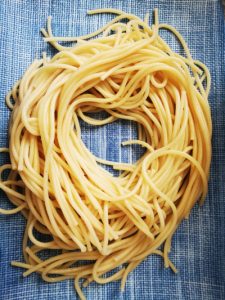
- While the meat is tenderizing, cook the spaghetti in lightly salted (1 tsp.) boiling water. Follow instructions on the packaging to cook the spaghetti. Once cooked, drain in a colander and rinse with hot water to keep the spaghetti from cooling. I always rinse with water boiled in the kettle. Add one tablespoon of butter to the spaghetti and mix in to melt. Drizzle one tablespoon of the sweet soy sauce and stir well.
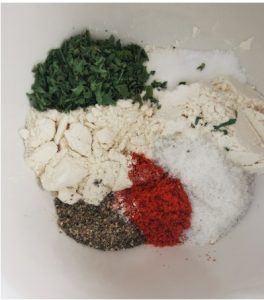
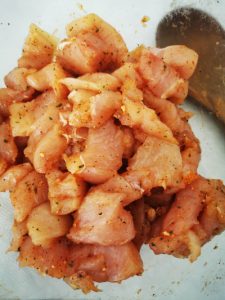
- In a small mixing bowl, combine the paprika, salt, ground black pepper, garlic powder, onion powder, and the optional dried parsley. Mix the seasoning well and add to the diced chicken once it's been rinsed and patted dry. Toss the seasoning with the diced chicken.
- Heat one tablespoon of neutral-tasting oil (such as vegetable oil or canola oil) in a large skillet over medium-high heat. Transfer the seasoned chicken and fry for approximately 10 minutes.
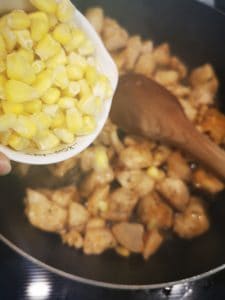
- Stir in the frozen corn and two tablespoons of soy sauce and continue cooking until the chicken has cooked through and browned, approximately 5-10 more minutes. The internal temperature of the chicken should be 165 degrees Fahrenheit. Taste the chicken and add more salt if necessary.
- Plating: Twirl spaghetti around a fork and transfer on a plate, making a circle with an empty space in the middle. Transfer chicken pieces into the middle of the nest. Garnish with chopped parsley or cilantro and drizzle with a little sweet soy sauce (optional).
Reheating Chicken in Spaghetti Nests:
If you have any leftovers, you can reheat them in the microwave or on the stovetop. Add a little bit of water - about two tablespoons, depending on how much leftovers you have. If you are using the stove, cook covered under low temperature. The water will create steam to make sure the chicken does not dry out.
Try these recipes too:
The Recipe:
Recipe
Chicken in Spaghetti Nests Recipe
Ingredients
- 4 boneless skinless chicken breasts, diced
- 300 gm. spaghetti cooked
- 1 teaspoon paprika
- 1 teaspoon onion powder
- 1 teaspoon garlic powder
- 1 teaspoon salt or to taste
- 1/2 teaspoon ground black pepper
- 3/4 teaspoon baking soda
- 1 tablespoon butter
- one tablespoon neutral-tasting oil such as canola or vegetable oil - for cooking
- one cup frozen corn niblets
- 3 tablespoons sweet soy sauce
- 1 tablespoon dried parsley optional
- handful chopped fresh parsley or cilantro to garnish optional
Instructions
- Dice the chicken breast into cubes and transfer into a large mixing bowl. Add 3/4 teaspoon of soda and toss well. Let marinate and tenderize for approximately 20 minutes, rinse well and pat dry with paper towels.
- While the meat is tenderizing, cook the spaghetti in lightly salted (1tsp) boiling water. Follow instructions on the packaging to cook the spaghetti. Once cooked, drain in a colander and rinse with hot water to keep the spaghetti from cooling. Add one tablespoon of butter to the spaghetti and mix in to melt. Drizzle one tablespoon of the sweet soy sauce and stir well.
- In a separate small mixing bowl, combine the paprika, salt, ground black pepper, garlic powder, onion powder, and the optional dried parsley. Mix the seasoning well and add to the diced chicken once it’s been rinsed and patted dry. Using your hands, mix the seasoning with the diced chicken.
- Heat one tablespoon of neutral-tasting oil (such as vegetable oil or canola oil) in a large skillet over medium-high heat. Transfer the seasoned chicken and fry for approximately 10 minutes.
- Add the frozen corn and two tablespoons of soy sauce, stir and continue cooking until the chicken has cooked through and browned, approximately 5-10 more minutes. The internal temperature of the chicken should be 165 degrees Fahrenheit. Taste the chicken and add more salt if necessary.
- Plating: Twirl spaghetti around a fork and transfer on a plate, making a circle with an empty space in the middle. Transfer chicken pieces into the middle of the nest. Garnish with chopped parsley or cilantro and drizzle with a little sweet soy sauce (optional).


Comments
No Comments